The Garmin PowerSwitch is a new product category from Garmin; with the rise in popularity of their off-road GPS units like the Overlander and increasingly advanced 4WD rigs with electronic accessories, the PowerSwitch is designed to complete and streamline your off-road experience.
What does it do?
At its core, the PowerSwitch is a 12V switch box that allows you to control 6 different devices via your phone or compatible Garmin GPS*. The big benefit here is that it allows you to consolidate your dash completely, no array of switches and controls, you will be able to control everything wirelessly via your phone or compatible GPS device.
It was primarily designed for UTVs and ATVs. Still, the implications for an Australian audience is largely on the 4WD users who will be able to use this to control: floodlights, spotlights, camp lights, light bars, 12V Oven, air compressors and inverters; the list is limited only by how you can think to utilise this setup to upgrade your current setup.
In terms of setup and how it functions, I’ll go over a quick example and later in the article, I’ll do a full rundown on how to set up, wire, program the PowerSwitch.
*Compatible with Garmin Tread, RV890, Overlander – as of 17/03/2021
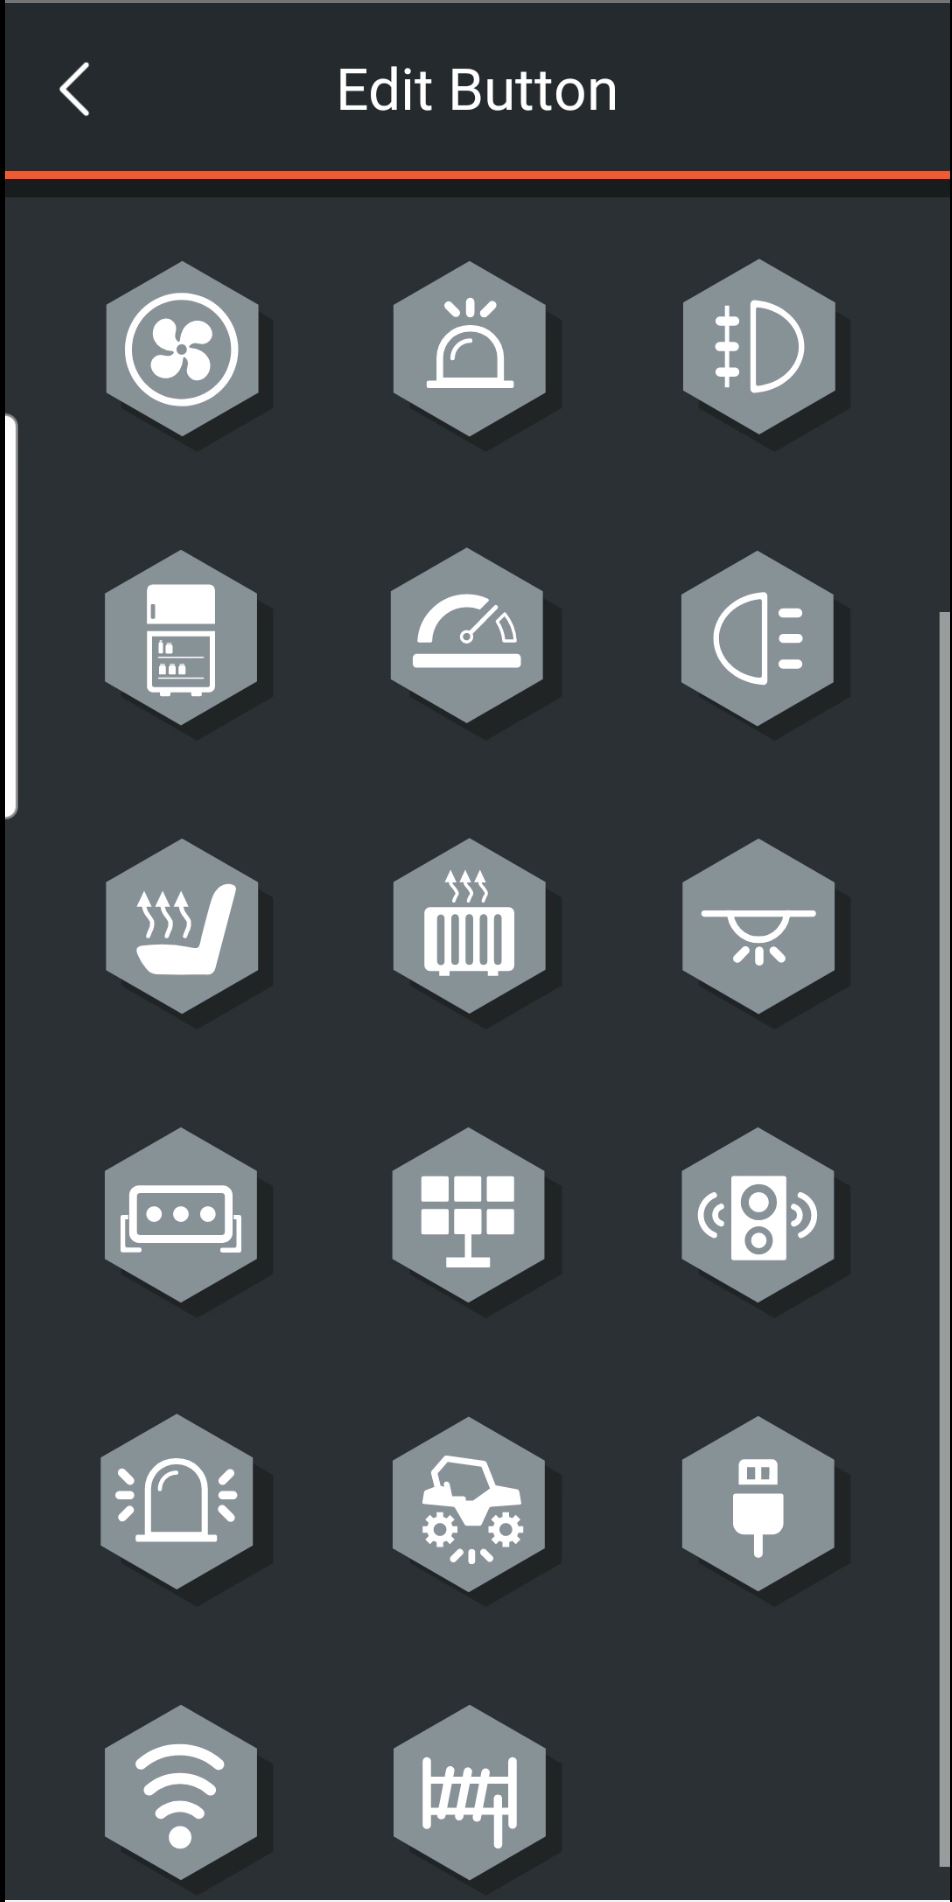
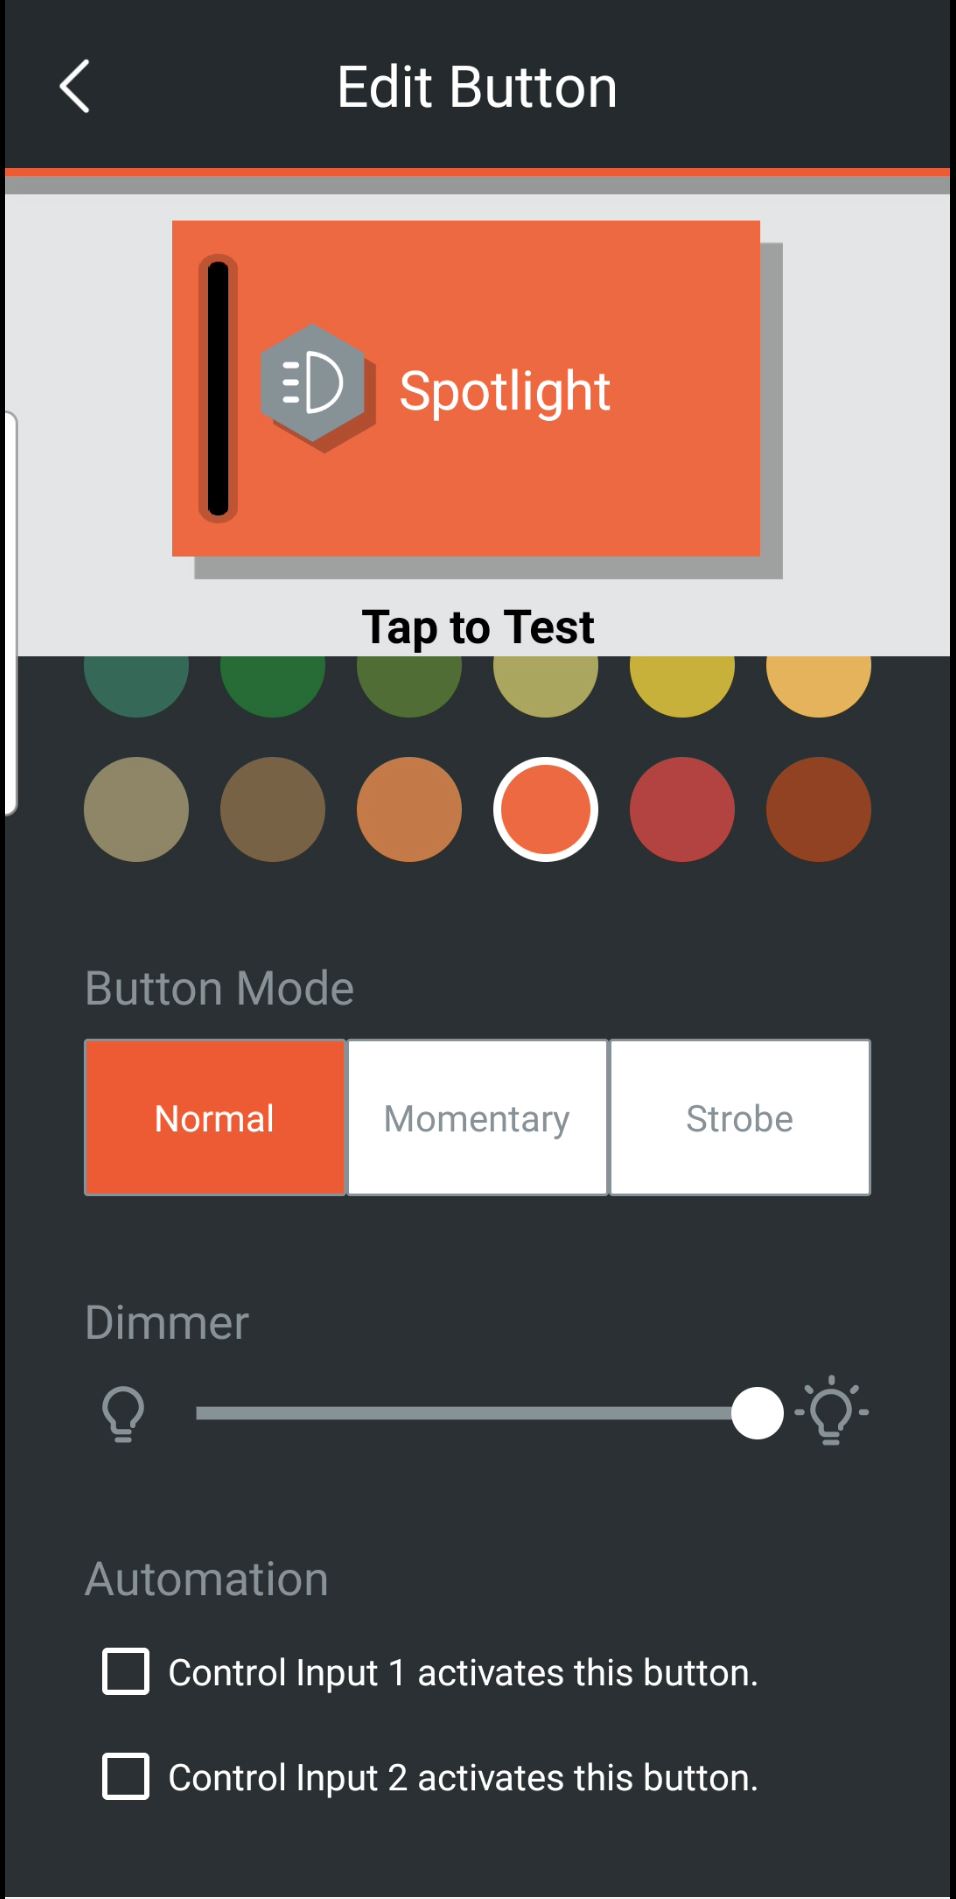
The PowerSwitch has a range of different switch control functions.
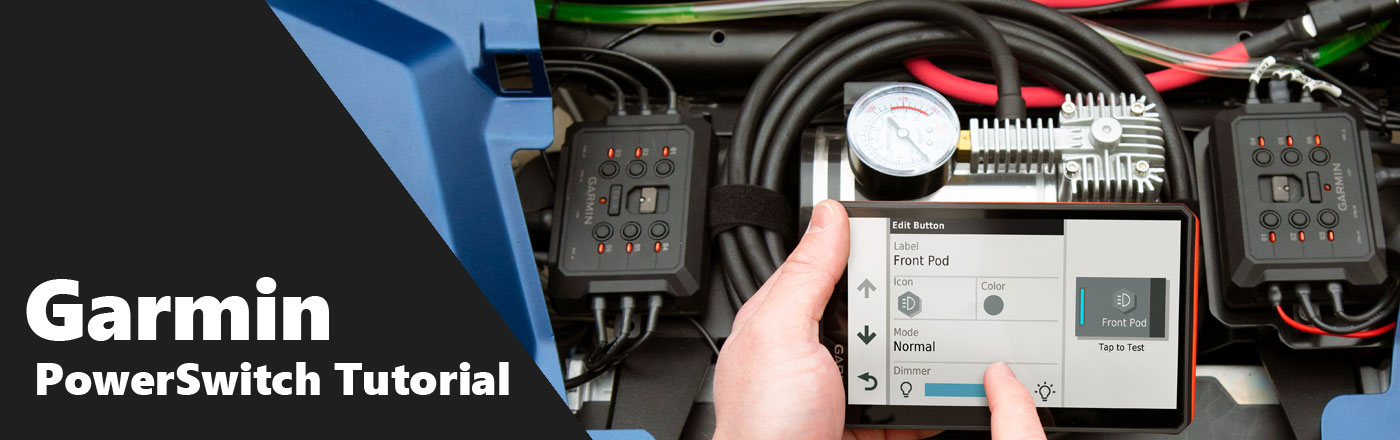
How to set up Garmin PowerSwitch with Video Guide
Let’s assume you just got your PowerSwitch and are ready to hook it up and upgrade your rig. We’re active on this blog, so if you have any questions, drop a comment below, and we’ll reply.
Step 1: Mounting Consideration
Mounting placement is important to consider. You need to select a placement area to give you access to the power supply and the ability to wire in the accessories. The PowerSwitch can be mounted via the screw mount holes on the side of the unit.
Step 2: Connecting Accessories
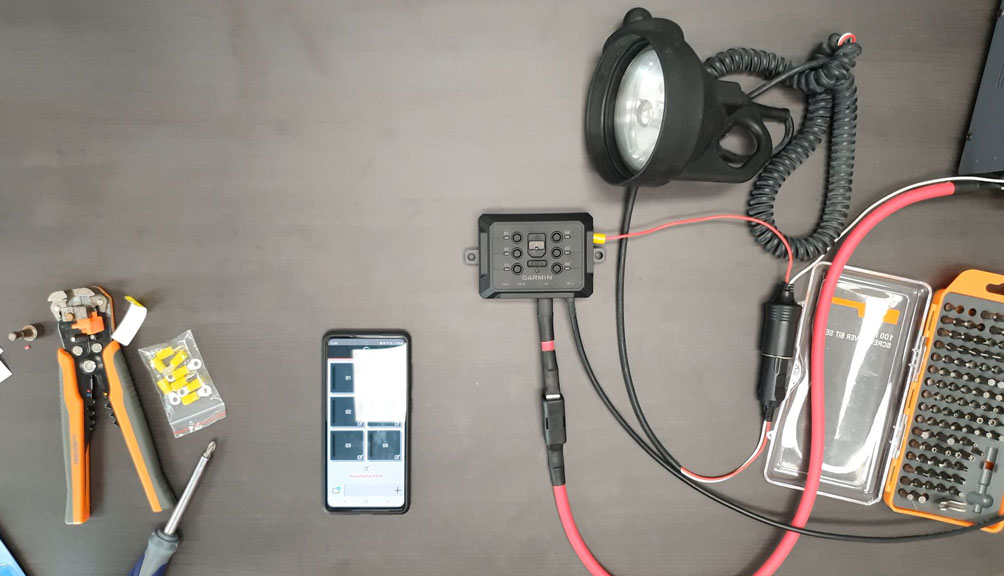
Tools needed: Crimping/Wire Stripping Tool, Phillips Head Screwdriver, 10mm Hex Bit
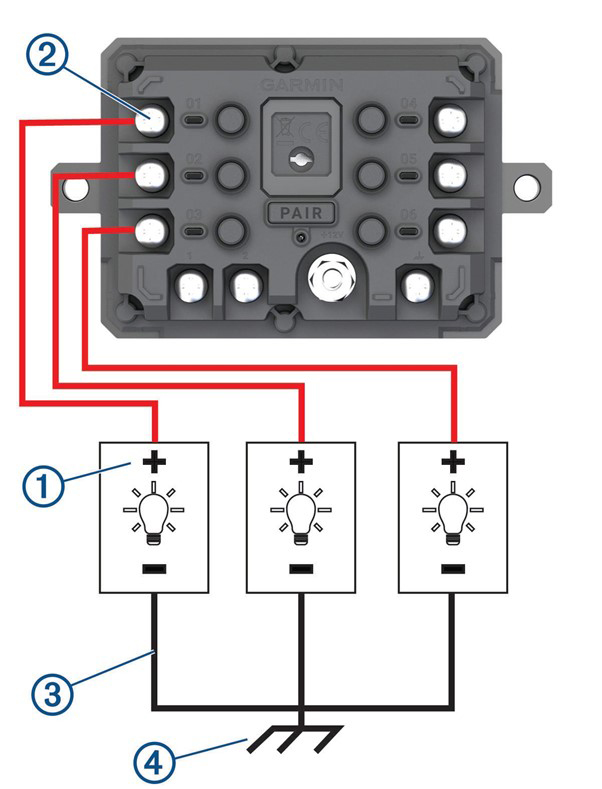
- Connect the positive wire from the accessory (1) to one of the accessory terminals (2) on the PowerSwitch
- Connect the negative or ground wire (3) to an unpainted ground stud (4) on the vehicle frame, to a ground distribution block or directly to the negative terminal on the battery.
- Do not connect the accessory ground wires to the ground terminal (GND) on the Garmin PowerSwitch device. Failure to do so can result in personal property damage or negatively impact the device functionality.
- Verify that all electrical connections are tight and will not come loose during use.
Step 3 Connecting a control input (Optional)
This is an optional step. You can connect to the control terminals to enable the PowerSwitch to turn on customisable outputs. An example of this would be connecting the PowerSwitch input controls to your vehicle ignition. This would then turn on all accessories automatically each time you start your vehicle. The control terminals detect a signal from 3.3V to 18 V. Options for this can be configured in the PowerSwitch App.
- Connect the control wire from the control source in your vehicle to one of the two control terminals on the PowerSwitch.
Step 4 Connecting the Device to Vehicle Power and Negative Lead Wiring
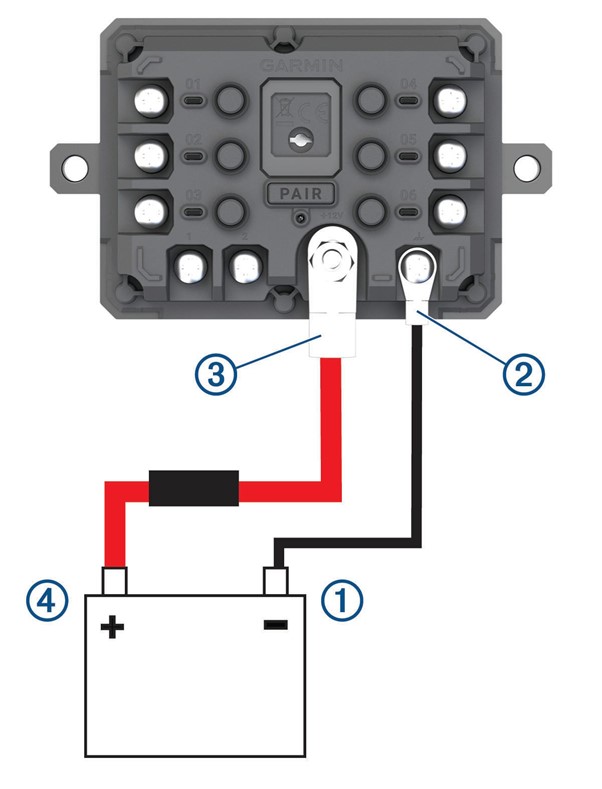
- Remove the warning tag from the +12V terminal on the device.
- Connect the large ring end of the included ground black (negative) wire (1) to the negative terminal on the vehicle battery.
- Connect the small ring end of the ground (negative) wire to the GND terminal (2) on the device
- Connect the small ring end of the included 12V red cable to the +12V terminal (3) on the device
- Tighten the 3/8 in” nut on the +12V terminal (Nut should not be able to be loosened by hand)
- Connect the large ring end of the 12V cable (4) to the positive terminal on the vehicle battery.
That’s all the hard stuff out of the way. The next part is simply pairing the PowerSwitch with your phone or SatNav and setting up each switch’s functions.
Pairing a Garmin Navigator to the PowerSwitch
- Turn on power to your PowerSwitch device within 1m.
- On your compatible navigation device, open the Garmin PowerSwitch app.
- Follow the on-screen instructions to complete the pairing and setup process.
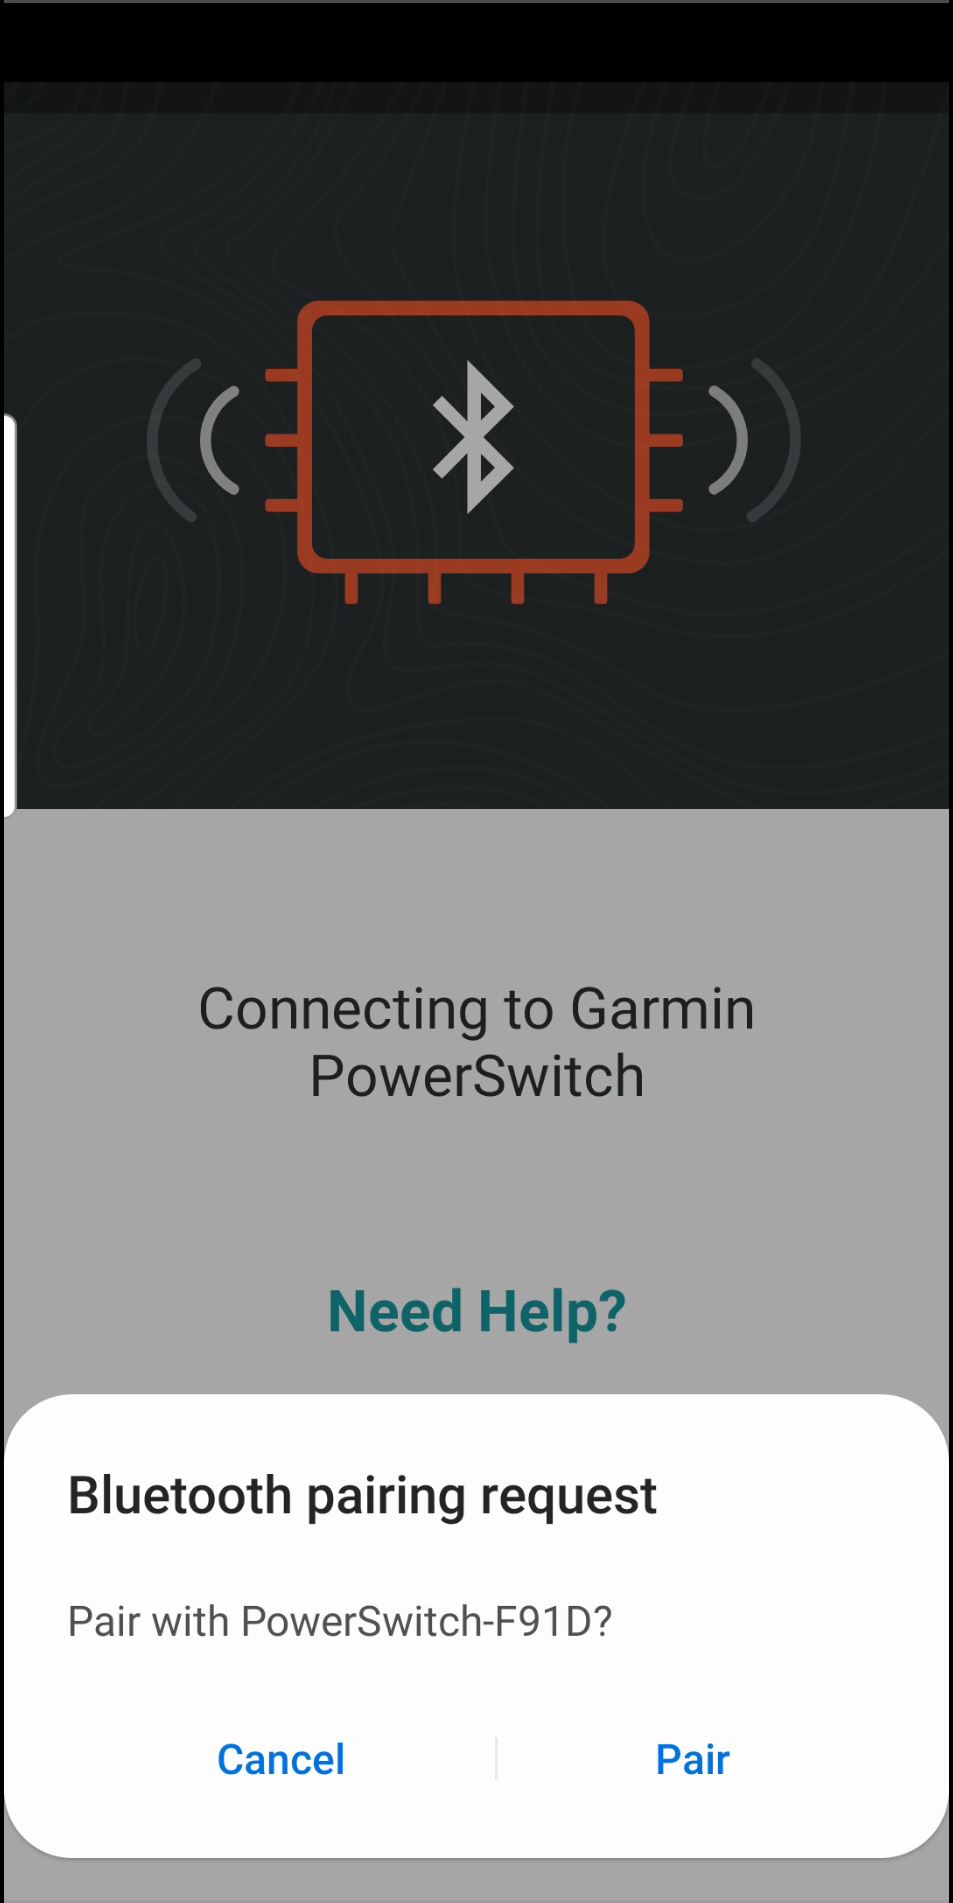
Pairing your smartphone to the PowerSwitch
- From the app store on your smartphone, install the Garmin PowerSwitch app.
- Turn on power to your Garmin PowerSwitch device, and place your smartphone within 1m of your device
- On your smartphone, open the Garmin PowerSwitch app.
- Follow the on-screen instructions to complete the pairing and setup process.