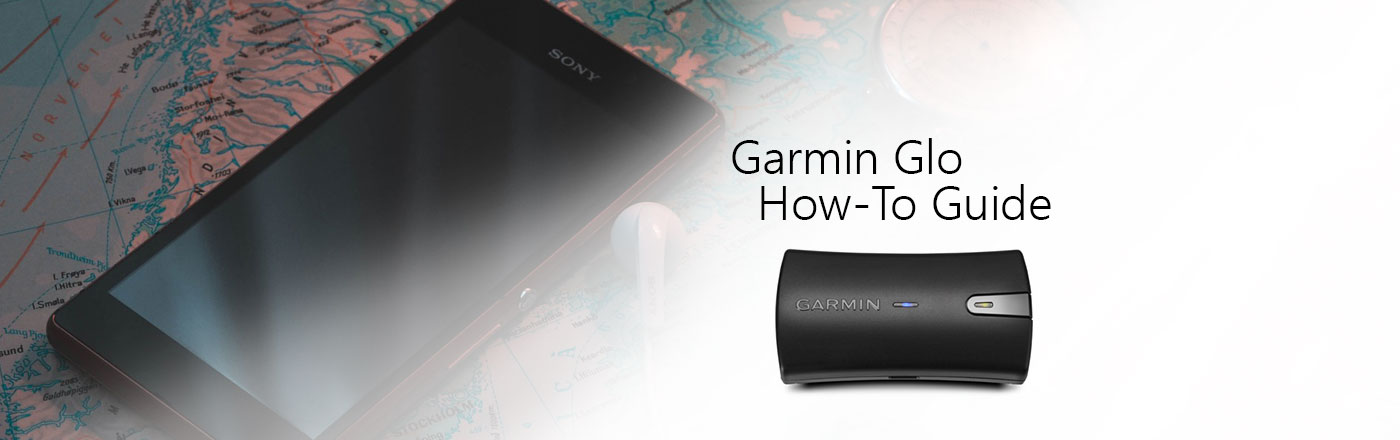
The Garmin Glo is a handy little Bluetooth GPS that connects to all major smart devices, effectively turning your iPad mini into a fully-fledged navigator. Simply by pairing the Garmin Glo to your smart device via Bluetooth, the Glo will transmit data it receives from the satellites directly to your phone. The Garmin Glo will work anywhere as long as it has a clear view of the sky; this includes remote areas where cell towers are nowhere to be found. Included with the Garmin Glo is a USB cable for charging the device and a 12V vehicle power cable so the Glo will never run out of charge while on a long car trip.
Specifications
So, what makes the Garmin Glo such a handy piece of tech? Well, with access to both the GPS and GLONASS satellites, this device is able to connect to up to 24 more satellites than a standard GPS device and will update your position 10 times per second. This makes the Garmin Glo far more accurate than the standard GPS receiver that comes with most modern phones and tablets. On top of this, this Bluetooth GPS is able to connect and transmit this to four different devices all at the same time.
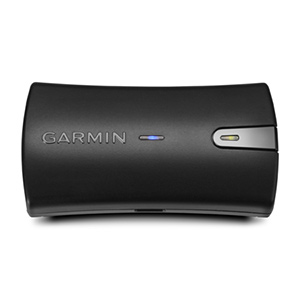
Weighing in at only 60 grams, the Garmin Glo’s compact form-factor makes it the perfect travelling companion. With dimensions just 8cm long and 4cm wide, the Garmin Glo can fit anywhere from the inside of your pocket to the dash of your car. The only potential shortcoming is the 12-hour battery life. Which is impressive when you consider the size of the device, but it does mean that for longer trips you will need to make sure you have a separate power source to charge the Glo. Another potential shortcoming is that the Garmin Glo doesn’t save any GPS data internally. While this won’t affect the vast majority of users, it may deter you if you are looking to use the receiver in a professional setting.
*As a note here the Garmin Glo 2 has been released but in terms of software functionality it operates the exact same way as the original Garmin Glo
How to use the Garmin Glo and Garmin Glo 2
Once connected to your mobile device, all you have to do is make sure the Glo has a clear view of the sky, and it’ll find the satellites. That’s it. With a cold start of 60 seconds, the Glo is able to find your location fresh out of the box in under a minute.
Unfortunately, when it comes to connecting the Glo to your smart device, you can only do so through the Bluetooth connection. The USB port on the Glo is only used for charging and does not transfer any data. This is another shortcoming of the Glo, as the ability to connect through USB as well as Bluetooth would have made the Glo a bit more versatile.
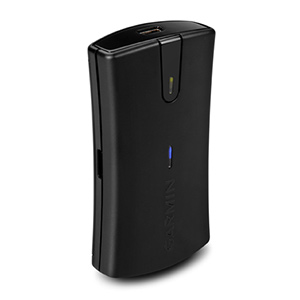
The Garmin Glo also comes with a couple of LED lights to let you know the state of the Glo. There’s the Bluetooth LED which lets you know if the Glo is connected to your device and a Status LED which will let you know battery charge and GPS fix.
Bluetooth LED:
| LED | Description |
| Slow Flashing Blue | Searching for Bluetooth devices |
| Rapid Flashing Blue | Pairing with Bluetooth device |
| Solid Blue | Connected with Bluetooth device |
Status LED:
| LED | Description |
| Slow flashing orange | Battery is Charging |
| Solid Orange | Battery is Charged, Power connected |
| Orange Off | Battery is charged, Power disconnected |
| Rapid Flashing Orange | Low Battery |
| Alternating Orange and Green | Faulty battery or system error |
| Flashing Green | Searching for GPS satellites |
| Solid Green | GPS satellite fix
|
While the inclusion of the LED light is helpful, it can be somewhat confusing. For example, if you’re using the GPS while it’s charging, the LED light will appear as if it is alternating orange and green. This is often confused for a faulty battery/system error warning even though the device is working normally.
So, using the Garmin Glo is pretty simple but what about pairing the Glo to your smart device? Well, depending on if you are using an Apple or Android device is process is slightly different so below you’ll find how to connect to both devices.
How to connect Garmin Glo to iPad
How do you connect the Garmin Glo to your Apple device? It’s not all that different from how you would pair any other regular Bluetooth device.
- Hold the power button on the Garmin Glo to turn it on
- On your Apple device, go into Settings > Bluetooth and turn on Bluetooth
- Bring the Garmin Glo within 10 meters of the Apple device
- The Garmin Glo should appear in your Apple device’s Bluetooth list, select the Garmin Glo to pair the two devices
- Once paired, the blue LED on the Glo should be solid blue
And that’s it. Once the Garmin Glo find some satellite’s, you’re good to go.
How to connect Garmin Glo to Android
Connecting to an Android device is a little different and does require a couple extra steps. You will need to download a third-party app onto your Android device for the device to receive the proper GPS signals. Garmin recommends the app “Bluetooth GPS”, which can be found on the Google Play Store at no extra cost (Note: Bluetooth GPS is a third-party application and is not affiliated with Garmin). Once you’ve installed the app, follow these steps:
- Hold the power button on the Garmin Glo to turn it on
- On your Android device, go into Settings > Connections > Bluetooth and turn on Bluetooth
- Bring the Garmin Glo within 10 meters of the Android device
- The Garmin Glo should appear in your ‘Available devices’ when you find it select the Garmin Glo to pair the two devices
- Once paired, the blue LED on the Glo should be solid blue
- Launch the Bluetooth GPS app
- Select "Enable Mock GPS Provider" in the app, if you are taken to an Android settings page with an option to "Allow mock locations" select allow and return to the Bluetooth GPS app
- In the app, press the menu button (this will most likely look like three vertical dots) > Settings
- Under "Service Settings" select "Reconnect."
- Under "Connection Problems Related" select "Use Insecure Connection."
- Go back to the main screen of the app (press the back button on your android device)
- On the main screen of the app, hit the connect button next to the Garmin Glo. If the data fields start showing data, then you’re good to go.
Once you have connected it all through Bluetooth GPS, you can exit the app and select your preferred navigation app.
Summary
The Garmin Glo is a great companion to have to turn your smart device into a proper navigation machine. Its small compact design makes it easy to take anywhere, and the fact that it works with so many devices is a huge plus. While it does have few small shortcomings, mainly the confusing LED and no internal memory, for what it’s worth the Garmin Glo is a great portable GPS receiver to get you where you need to go.
Garmin Glo Bluetooth GPS - All compatible Accessories available in the 'Accessories' Tab