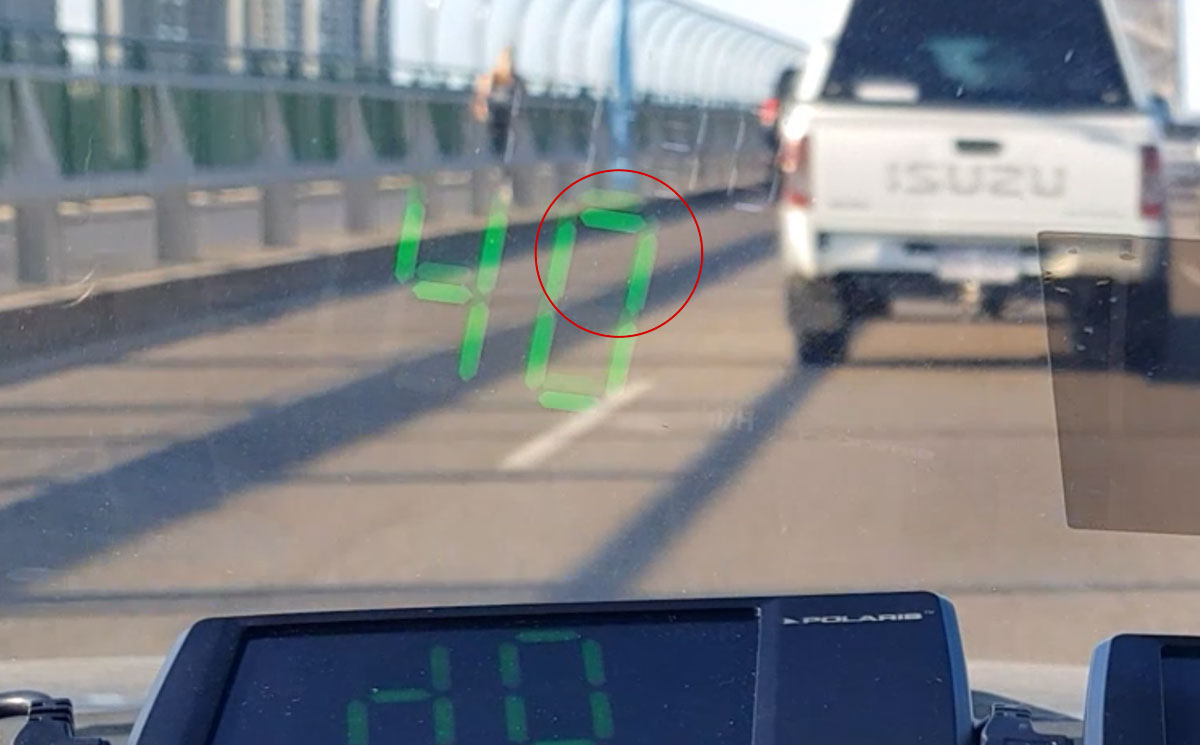
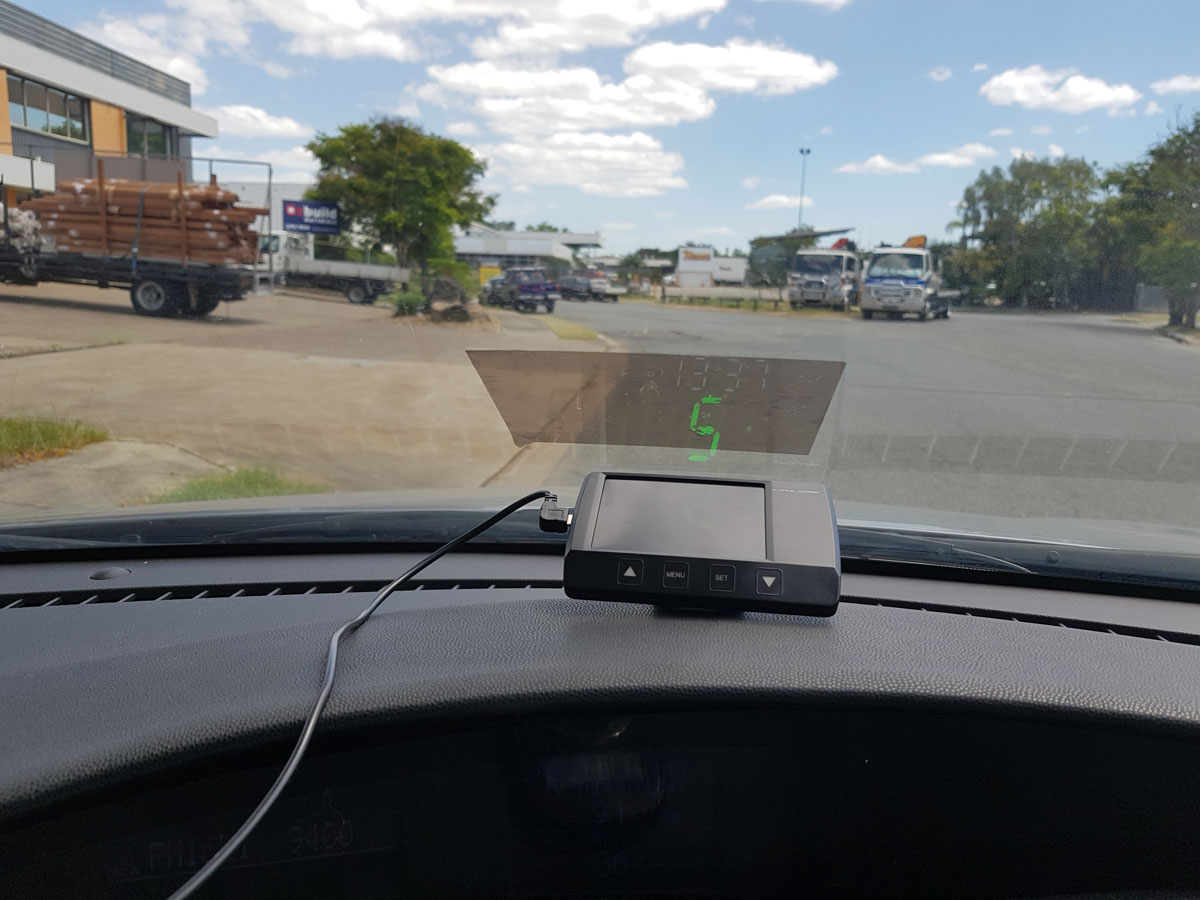
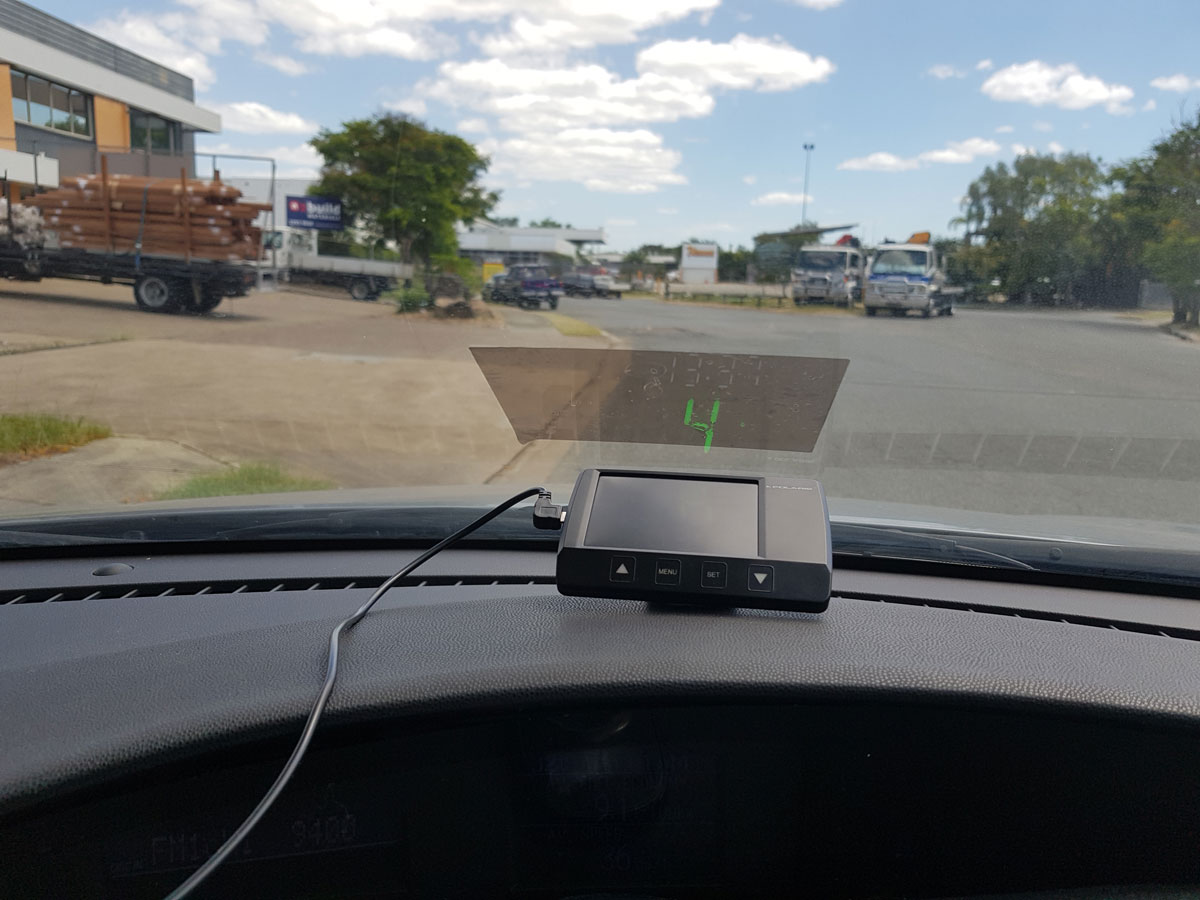
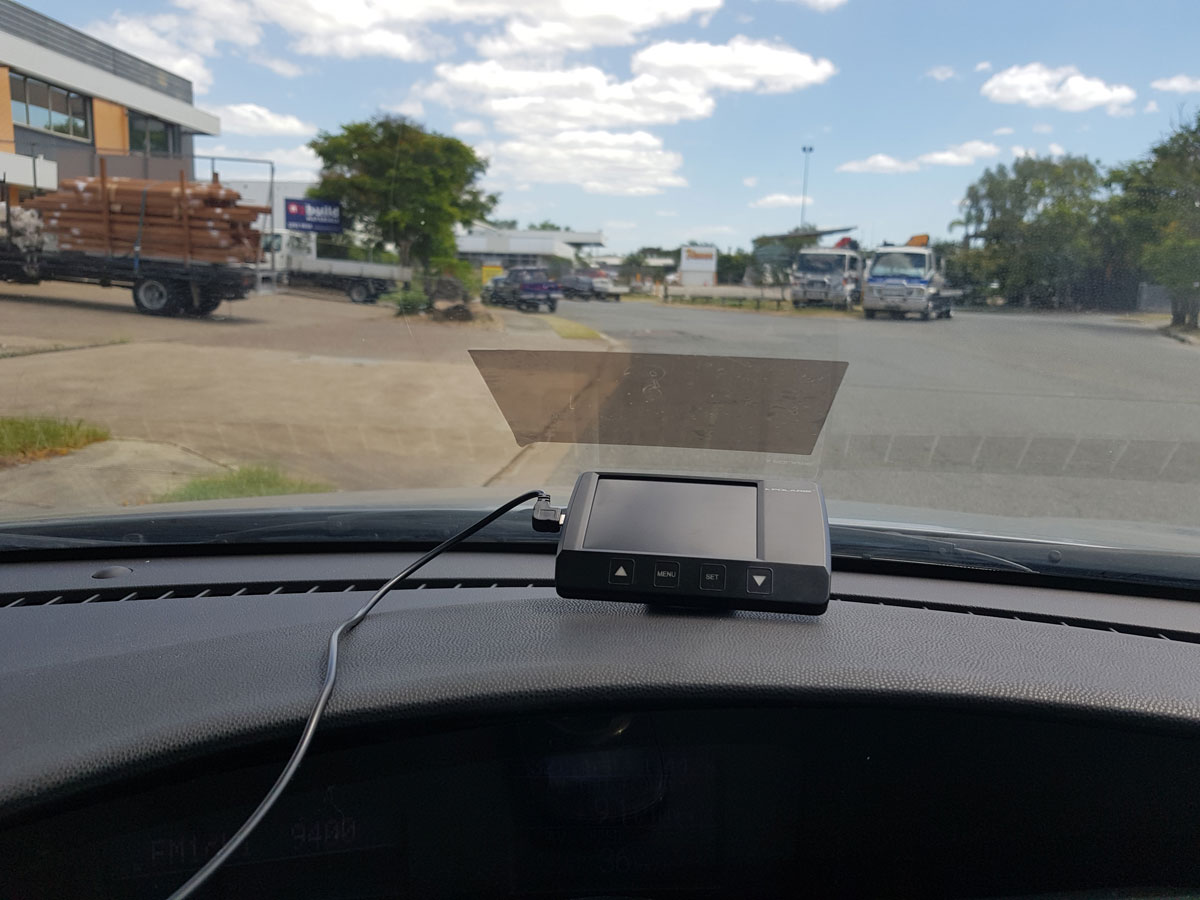
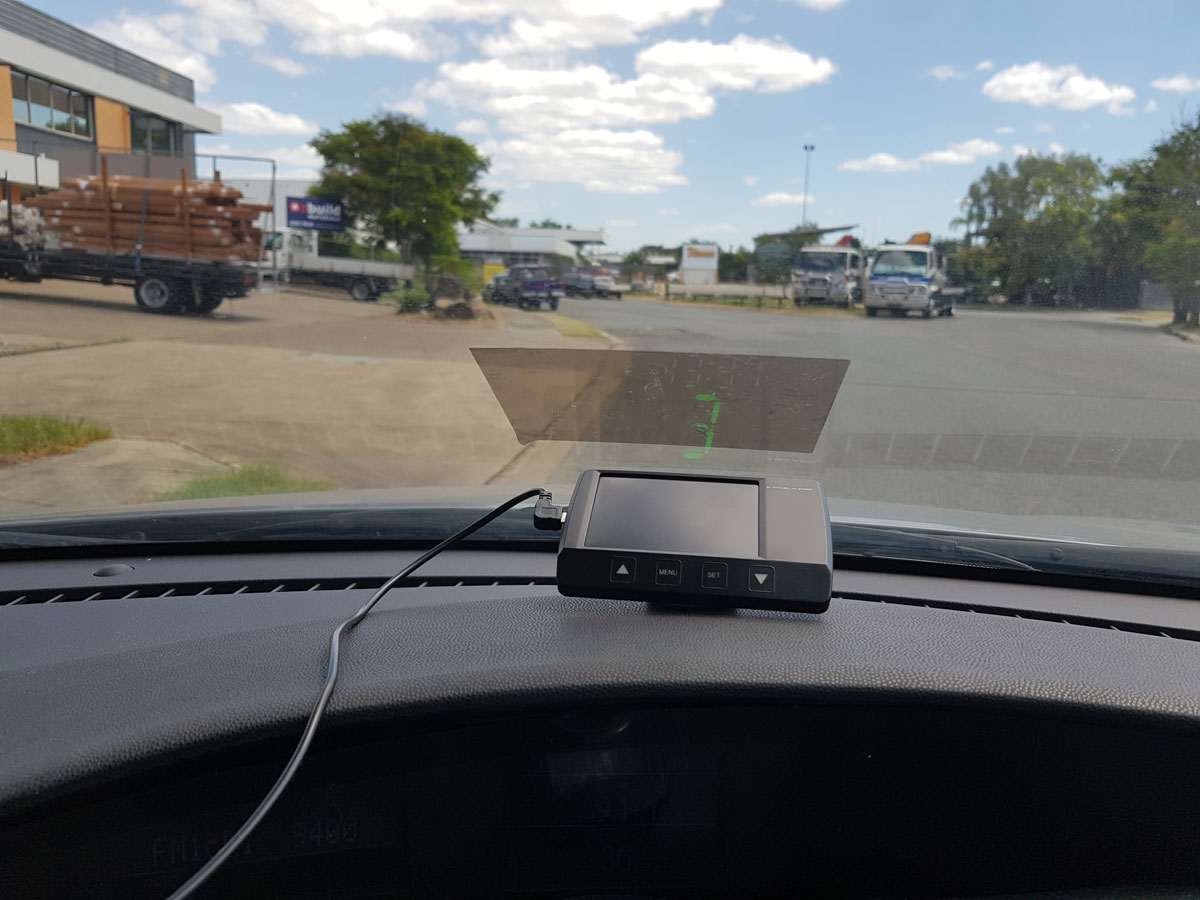
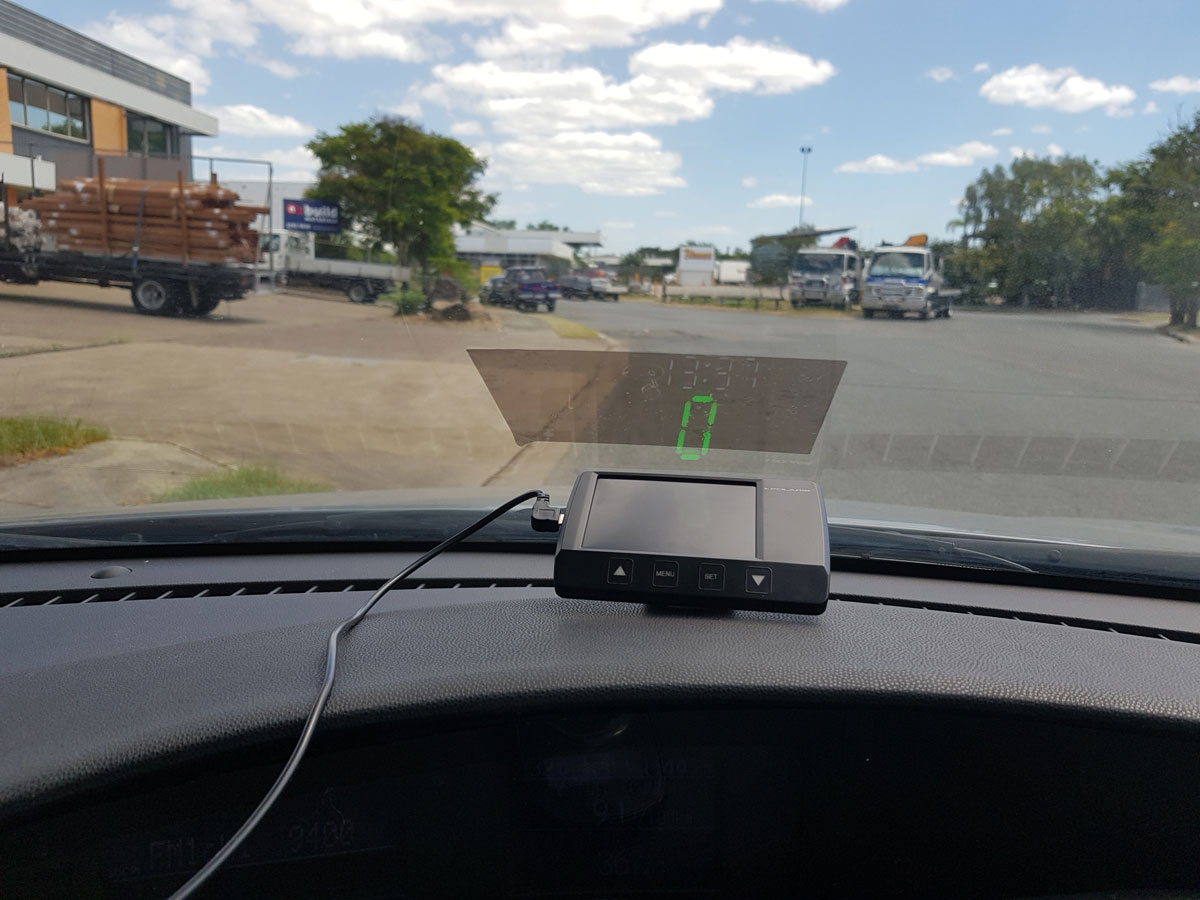
The Polaris HUD plus finally gives you an accurate speedo reading without needing to take your eyes off the road. Unlike some of the other heads-up display options on the market, the HUD plus works well in dim and bright conditions. We shot a video testing a bunch of setting and the HUD in different lighting situations to see how it fared.
Quick Wrap-up
The Polaris worked well in all conditions but needed the tint supplied for bright conditions as even on the maximum brightness settings the numbers were hard to read.
The audio level was powerful we tested it with the radio on and off, and in both conditions, it was very clearly audible. (You can also adjust the volume settings higher or lower)
Easy setup
Polaris state that their unit updates approximately every second which after measuring ourselves (using the speedo reaction tested against the time the HUD Plus updated) we received the same result within a margin of error of +- 0.5 seconds.
|
Best |
Worst |
|
Easy setup |
Plastic screw part |
|
Highly responsive |
Need tint |
|
Big display and alerts work perfectly |
|
|
Red light camera/Speed Camera warnings |
Video Test for the HUD Plus
Our setup for the video was obviously not the standard setup I could have arranged things a bit nicer but the main idea was to test the clarity of the HUD plus in different lighting conditions and with/without tint. The biggest factors we took away from this test was that while the tint only made a slight improvement regarding the visibility of the number it was actually much clearer as the tintless HUD unit showed double numbers due to the window glazing.
Setup
The HUD Plus is simple to set up. The unit comes with a removable sticky bracket that can be attached to your dash. From that point, you just need to plug in the power cord to your cigarette lighter. You can place the HUD plus anywhere on your dash wherever makes the most natural line of sight for you to check without disturbing your view too much. The setup I used in the video isn't ideal, as I had to place the units on the curved part of my dash as this was the best spot to effectively film both units.
Based on my dash each car dash will be different ideally you would want it in a position that means your eyes don’t need to leave the road to check the speed however that might not always be possible.

Once you’ve selected the position and stuck down the bracket and the HUD plus unit take the tint out and spray the windscreen with soapy water. Then apply the tint and use something with a flat surface (Credit card or ruler to smooth out the bubbles). I can't stress this enough, make sure the unit is on and the windscreen is wet (don't do this when your windscreen is hot as the water will dry out too quickly - I'm definitely not speaking from experience and a failed tint installation). The unit needs to be turned on as it can deceptive as to how high you need to place the tint to capture the unit display. Your credit card or whatever you're using to smooth out the tint will push any excess water out as well after you're done just wipe down the windscreen and you're all set.
Writing the setup of how to begin building and placing the device to functionally make it work appropriately on top of the dash where you will be setting the HUD PLUS securely and in comfortable eye view in a functional and safe method that is quick and easy to set in firmly

Features
Calibration
The Calibration setting on your HUD is there if you want it to match your speedometer as all car speedometers. By Australian road safety standards, your speedometer will always overestimate your speed by 0-10% plus 4KM/H. You can calibrate your HUD Plus to match this as well. To do this, you will need to make sure the calibration is first set to 0 then drive at a slow, consistent speed like 50km/h and observe the discrepancy between the HUD Plus and your speedometer. Once you ascertain the difference, you just need to adjust the calibration up or down to match your speedo.
Overspeed
The HUD Plus has a feature for over speed, which will alert you whenever you go faster than a certain set speed between 0-180km/h. There are two levels you can set for this. An example would be an Overspeed alert at 130KM/H and the second one at a higher level 150KM/H. You can set this up by tapping the menu button until the HUD plus says ‘OverSpeed setting Level 1” from that point just press the up arrow or down arrow to select your speed.
Brightness
The HUD Plus allows for six brightness setting controls, which go from 1-5 (1 being the lowest and five being the brightest)
There is also an automatic adjustment setting which will alter the brightness based on your lighting conditions.
Red Light Camera Alerts and Speed Cameras
The Hud plus also comes with a database of the Red light camera and Speed Camera locations across Australia. Polaris have access to the same database used by TomTom for this information on Red light cameras and speed cameras.
Polaris HUD Plus Full Geek Sheet| General Information | |
| Working Voltage | DC 9 – 30 V |
| Speed displayed in | Km/h |
| Cigarette lighter voltage | DC 12-24 Volt (5 volt Reducer built in) |
| Hardwire Cable Voltage | DC 12-24 Volt (5 Volt Reducer built in) |
| Data provided by | Tom Tom |
| Working Current | <700mA (12VDC) |
| Working Temperature | -20°C –55°C |
| Buzzer Volume | ≥75db, 100mm |
| Speed Precision | 1 km/h |
| GPS Refresh Rate | One time per second (1Hz) |
| Speed Display Range: | 0km/h – 199km/h |
| Dimensions of unit: | (L) 10.7cm x (H) 7cm x (W) 1.5cm |
| Weight of unit: | 80 Grams |
| Size of digits on display – Speed: | (H) 2.5cm x (W) 1.4cm |
| Size of digits on display – Time: | (H) 1.4cm x (W) 0.7cm |
| Volume level settings | 1-5 |
| Brightness Level settings | 0-5 |
| Preset Speed Alert #1 | 20km/h – 180km/h, 0 = Off (10 km/h increments) |
| Preset Speed Alert # 2 |
20km/h – 180km/h, 0 = Off (10 km/h increments) |


