A Little Background
Having completed the Gold Coast Peaks Challenge this year in a decent time (under 9 hours), I became inspired to take my cycling to the next level. The following statement stuck in my head as my bike is reaching the 3 year old mark:
If you want to ride faster and you are serious about your training. Think before throwing all your money at a new bike or other equipment - consider investing in a power meter. A new set of wheels or a bike will make you go faster only once. By investing in you - the rider - you will continue to go faster!
From: http://www.trainsharpcyclecoaching.co.uk/srm/SRM-Systems/
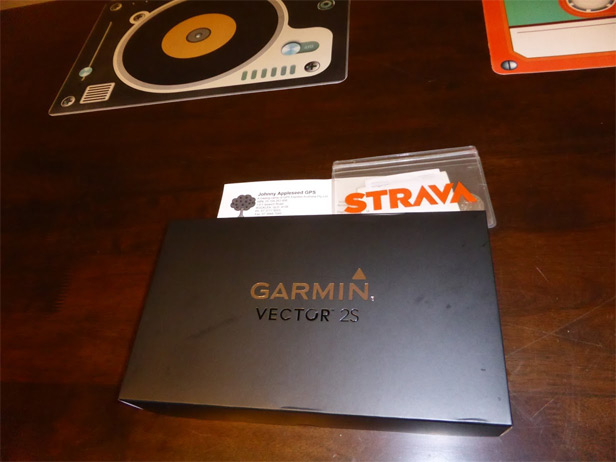
I was reluctant to buy a power meter for a long time; the cost compared to other cycling parts is quite high.
I am aware of the Limits and PowerPod crowdfunded cheaper alternatives. However compared to the other well-known power meters and the review by DC Rainmaker I'm hesitant to approach them. A power meter is a serious investment for getting serious about cycling. My thoughts are best to aim for a quality, big-brand power meter to be assured of the accuracy. The left-hand side only Garmin Vector 2S was a good compromise between cost and reliability.
After zipping around town to the GPS store you need a GPS to find, Johnny Appleseed GPS Rocklea. (Hint, for the GPS-less, there are some video directions on our contact page to help! - Ed). I picked up my new toy/personal birthday present and took it home. Before unboxing, I upgraded my Edge 510 to firmware version 4.20 which now supports Strava Live Segments! I am still unable to get the Live Segments working and any help (via the Comments) would be appreciated.
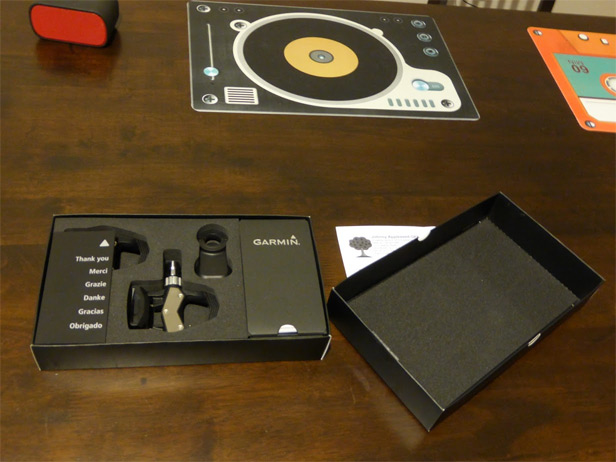
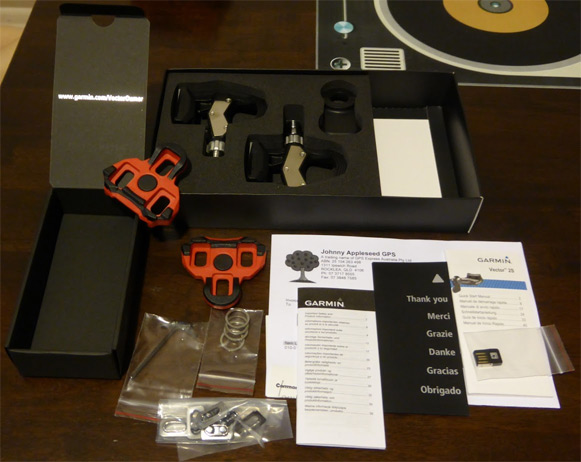
Getting Started
The interesting thing about the Australian version of the Vector 2S is the 90kg weight limit. I ride with quite a few guys who I don't consider to be rotund but are over 90kgs. The weight limit will be an issue for quite a lot of Australian riders (but not for skinny me).
The VectorOwner URL provides access to instructional videos and the opportunity to register your device with Garmin.
As advised in the Quick Start guide, I recorded the unit number engraved on the spindle along with the serial number. I placed it (the small white barcode sticker) onto my Johnny Appleseed GPS Invoice for future reference.
I found the Quick Start guide to be more than adequate instruction to easily set up the Vector 2S. The VectorOwner site videos may be useful for people who are really uncomfortable with changing pedals or who are new to their Edge GPS units. The setup of the Vector 2S was surprisingly easy, straight-forward and trouble-free for what is a complex cycling component.
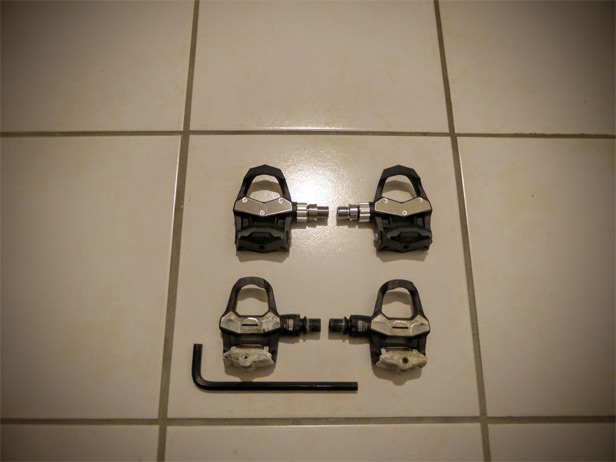
The Setup
Over to the bike and tools. My trusty, quality Look Keo 2 Max pedals had served me well for the last 20,761.6 km of cycling hence looking a little tired. Perhaps I should have at least changed the cleats after 10,000 km. However I protect my cleats with Look 'Coffee Shop' Covers (which just fit the Garmin-supplied cleats as well). To my delight, the Look pedals came off easily (compared to the last time) and the Vector 2S pedals installed without any bother either.
I do not own a torque meter, so I hand-tightened the pedals then applied an additional firm tightening with the 15mm pedal spanner. Geoff from Johnny Appleseed GPS advised that the power data can be affected if the pedal isn't tightened appropriately.
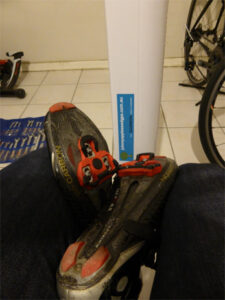
Next up in the Quick Start guide were the Look-compatible replacement cleats. Don't underestimate how nice new cleats feel to ride with.. My well-worn Bontrager carbon cycling shoes were given a new look with the coincidentally colour-matching cleats.
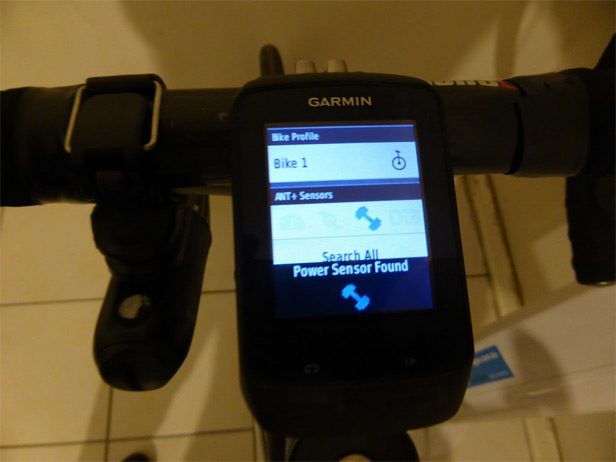
Once the cleats were installed, it was time to pair the Vector 2S to my Edge 510. Once the firmware update completed, I went into the Settings -> Bike Profiles screen to view the connected ANT+ Sensors. A quick spin of the cranks woke up the power meter and it was easily recognised by the Edge 510. Yay! Power!
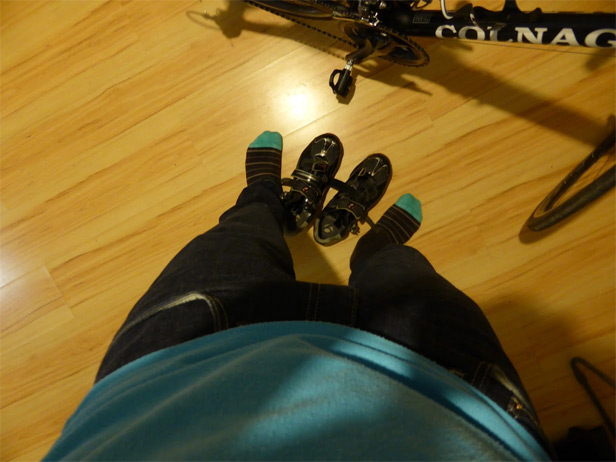
I was then prompted to calibrate the power meter which I couldn't refuse at 10 o'clock at night. Appropriately dressed, I quickly put on my cycling shoes and helmet, tucked in my right jeans pant leg into my sock. Then rode down the street to test the Strava Live Segments and put in a strong hill climbing show on the power meter.
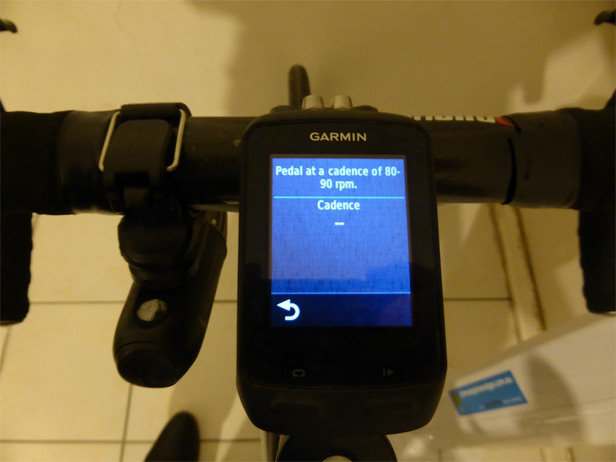
The fun of riding to the requested 80-90 RPM cadence was abruptly interrupted by the Edge's request to get off the bike (or words to that effect) to complete the calibration. Once the setup was finalised, I attacked some local hills with advantage of watching my wattage.
Disappointingly, I had not setup Strava Live Segments properly (and later discovered I haven't starred my local hill segments either) but I did manage to pick up a Number 10 Cup! 🙂
I have not researched enough to know what is a good power number and what isn't yet, however on my regular Saturday ride, I aimed to stay above 300W at most times which felt like a good enough challenge. I reached 1100W at one point on the ride and Strava reported a 243W Weighted Avg Power.
Looking forward to understanding more about power and learning how to use it for training when my new book arrives: The Cyclist's Training Bible.
Here's a video taken from a Garmin Virb XE Camera showing the data from the Vector 2 (and a heart rate monitor).


